Three Aesthetic Thrift Flips
It's fall, and that only means one thing! Thrifting season! Ok, that's not a thing but I have to make this blog seem topical somehow and I can only relate crafting to global mayhem so many times. That being said, thrifting is good for the environment, an important consideration these days. Just by buying secondhand, you reduce the amount of waste in landfills and the amount of pollution from clothing factories. Older clothes that are in thrift stores tend to be better quality as well, already showing they can stand the test of time. And of course, thrifting is easier on the wallet. My favorite part of thrifting is snagging really cool pieces and building my own unique closet.
Admittedly, thrifting can be a little overwhelming with rows and rows of clothes you'd never wear and furniture that screams 90's classroom. I'm most successful when I keep an eye out for colors or patterns that catch my eye or interesting silhouettes rather than focusing on particular items. Sometimes I walk all the way around a store, find nothing and decide to leave, then one thing grabs my eye and 10 minutes later I have a handful of spectacular finds.
Don't limit yourself to the actual items you find, either! You can upcyle and tailor all sorts of things or find project materials. Ugly old vases can be spray painted into minimalist sculptures and too-big pants can be cut into Urban Outfitters style high waisted shorts. For these projects, I cut up shirts for fabric, turned a big fuzzy sweater into a cute cropped 3/4 zip and added embroidery to a plain tee.
DIY Scrunchies

If there's one accessory everybody with long hair needs, it's a cute scrunchie! Back again from the 90s, scrunchies are every influencer's current must-have and I get it. They're adorable, come in every pattern and color and they're better for your hair than a normal elastic hair tie! For these scrunchies, I found dress shirts in patterns I liked as well as a pretty maroon colored velvet dress. The shirt fabric was a little easier to sew but I like how both turned out.

Materials
- Fabric (20" x 4")
- 1/4" elastic (8")
- Pins
- Needle
- Thread
- Measuring tape
- Scissors
- A safety pin (helpful)
Joann's sells 1/4" elastic for about $.99/yard at fabric cutting table, if you're having trouble finding it, as I did. Also, you could use hot glue or double sided tape in place of sewing, if you'd rather. It may not work as well though, depending on the fabric, but click here for some instructions.

Instructions
- Cut a 20x4 inch piece of fabric
- Fold over ends, about 1 cm, and pin in place
- Fold in half the long way, with folded ends out, and pin in place
- Sew along the pinned side, leaving about a 1/2 inch seam allowance
- Turn inside out
- Cut 8" of elastic and use the safety pin to thread it through the casing
- Tie elastic in a knot
- Stitch the ends together

Embroidered Cropped Tee

Our theme today is "cool a long time ago, now popular on Instagram" I guess! Cool when our grandparents were kids, shirts with embroidered pockets, embroidered trim and more are everywhere you look from Instagram to H&M. I embroidered flowers on a shirt, but you could also add a design to crew socks, the back pocket of denim shorts, a face mask or anything! As you can see, I found this shirt for $2 and it was half off, so only $1! After adding embroidery, I cropped it for a cuter fit.

Materials
- T-shirt
- Embroidery floss
- Embroidery hoop
- Needle
- Scissors
Embroidery floss comes in strands of six and is usually split into two strands of three. Just grab three and three, then pull them apart gently. An embroidery needle is larger than normal sewing needles, making it easier to thread the floss, but any needle with a large enough hole will work.
I eyeballed the design I did, which is slightly evident in the fact that it's a little crooked, but you can easily trace one out ahead of time. This website, Sew Guide, has lots of easy floral designs to follow and Google is always a great resource as well. I followed the very beginning of this video for the flower.

Instructions
- Put shirt on to figure out where you want to embroider, put a pin in the spot
- Put embroidery hoop with that spot in the center. Put the solid hoop below the fabric, place the other hoop on top, pull the fabric snug and tighten the hoop by twisting the screw.
- If you're using a pattern, trace the pattern on
- Embroider!
- Cut the shirt to a cropped length that you like and pull the edges to give them a little curl.

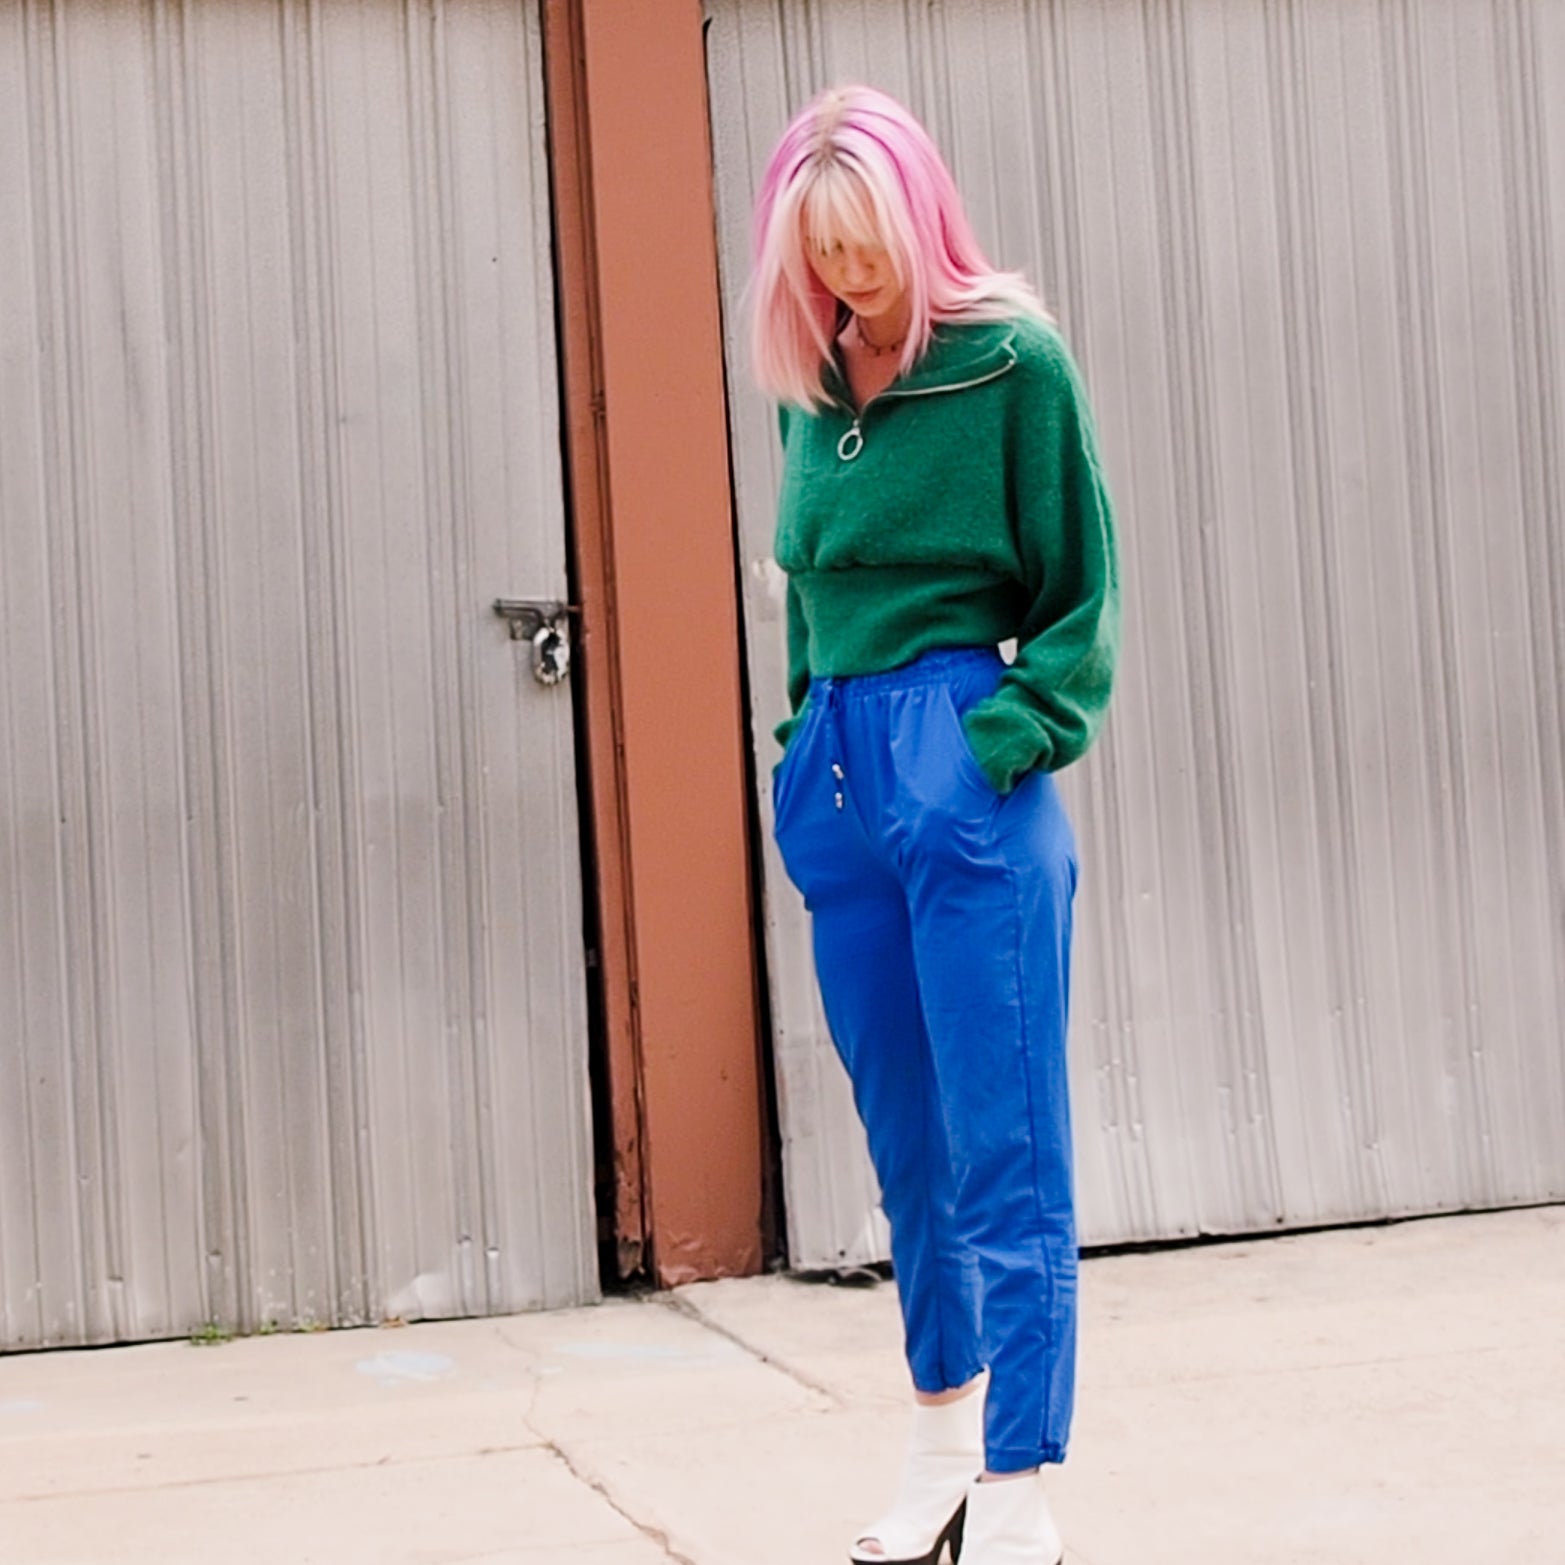
Cropped 3/4 Zip Sweater

Cropped cardigans are the it item for this fall! Whether it's a buttoned cardigan or 3/4 zip, if it's so short it's almost unwearable, it's in! You could buy one somewhere for a ridiculous amount of money or... you could find a normal sweater for $5 at a thrift store and DIY it! Honestly I was a little dubious that I would be able to make this look wearable, but I really like how it turned out! I can't wait for the weather to cool a little so I can wear this with mom jeans and chunky sneakers or maybe a patterned miniskirt and heels.
If you've got a sewing machine, now is the time to pull it out! If you're like me and don't have one, no stress. I sewed over my seam twice to make sure it would hold and it looks great.

Materials
- 3/4 zip sweater
- Pins
- Thread
- Needle
- Scissors
Some fabric can be cut with raw hem and it won't unravel. If that's the case for the sweater you've got, grab the scissors and snip away! However, if you need or want a hem, this is a super simple way to do it. Most sweaters and cardigans already have some sort of wide hem at the bottom that you can save. Mine was

Instructions
- Fold sweater up and pin where new seam will be
- Sew along pinned line. Sew a second seam on top if you're sewing by hand
- Cut off extra fabric below the seam
- Flip new cuff down.
This sweater was tapered towards the bottom so I had to fold some of the fabric into the new seam to make the wider top fit smoothly. If I did it again, I would make sure that it was folded in evenly so that I didn't have non-matching creases, but it's not super noticeable so I don't mind. 

my cats, Alfie and Gilly (current foster kitten), were very helpful
-xx Laura